If you got an old kitchen sink with a rusted or non-functional faucet and want to replace it with a new, modern, stylish one, this guide will help you do all of that by yourself. Let’s get going.
Step 1. Turn Off the Water Supply & Disconnect the P-trap
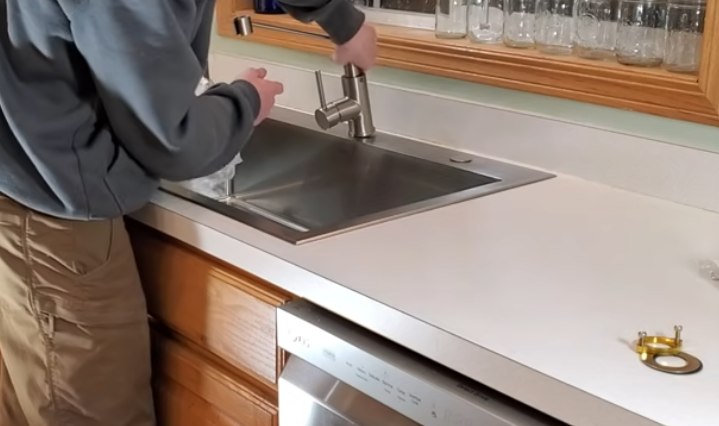
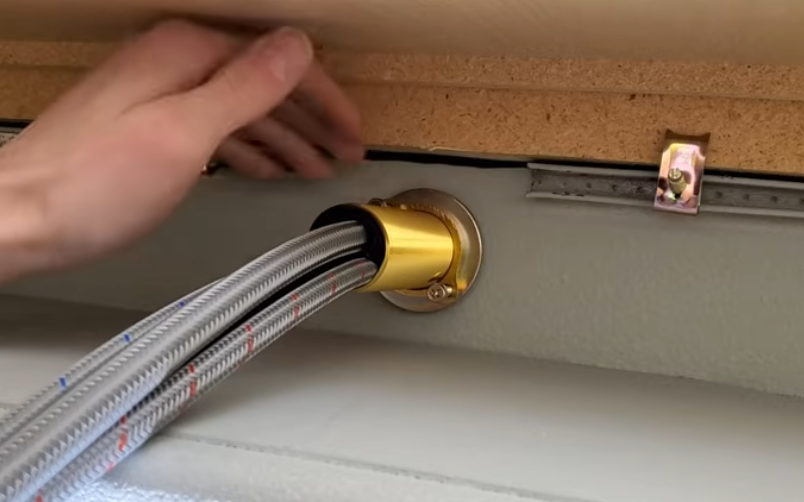
To start, make sure you turn off your water supply. Usually, there are knobs under the cabinet, but if there aren’t, you can locate the whole-house shutoff valve and turn that off.
With the water shut off, go ahead and turn on the faucet. This will relieve any pressure in the lines.
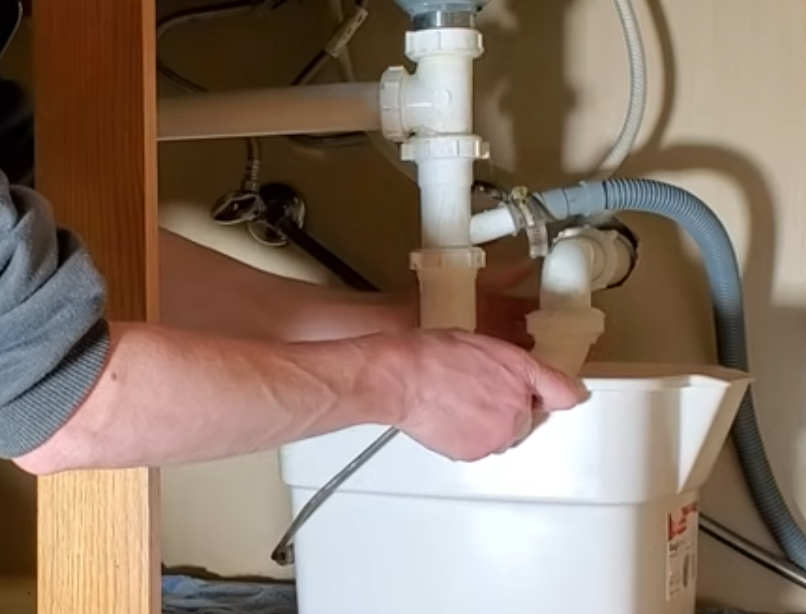
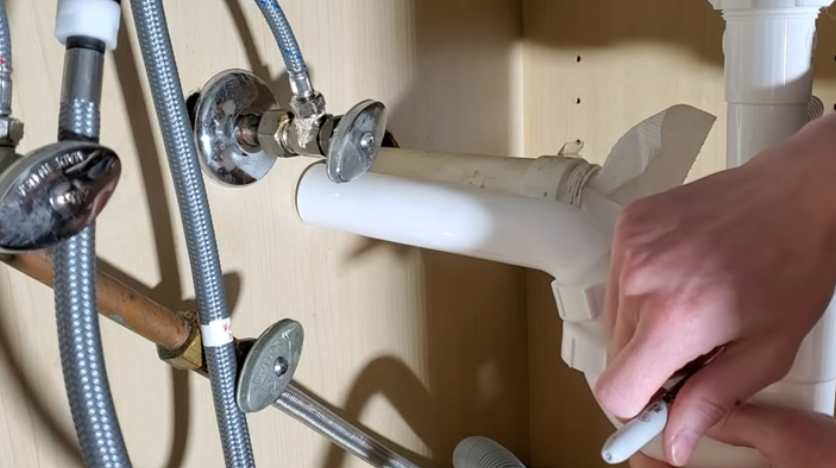
With the water shut off, you’re going to go ahead and disconnect the P-trap and plumbing fittings underneath the sink. To make this job easier, put down a towel or rag and a bucket underneath. Then disconnect the sink water lines from the house.
Step 2. Release the Sink From the Countertop
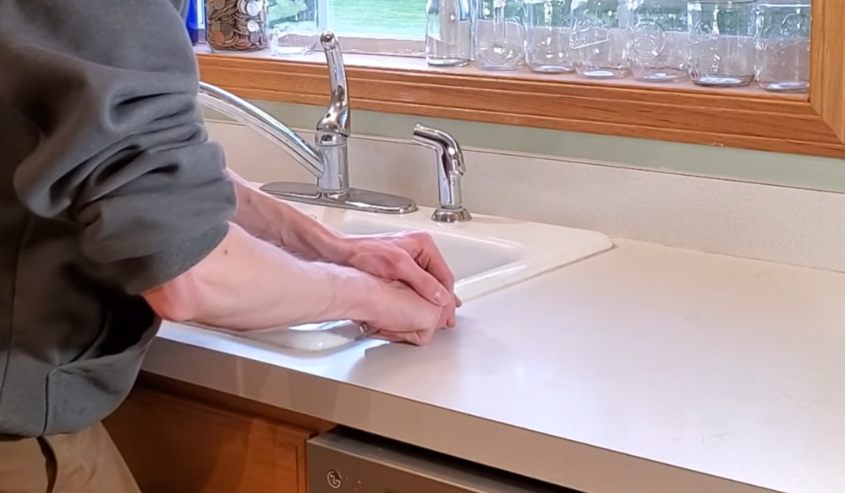
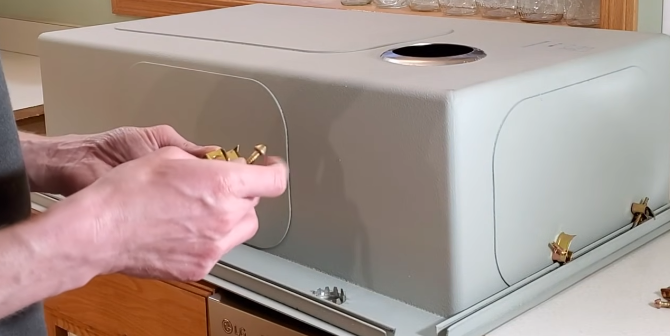
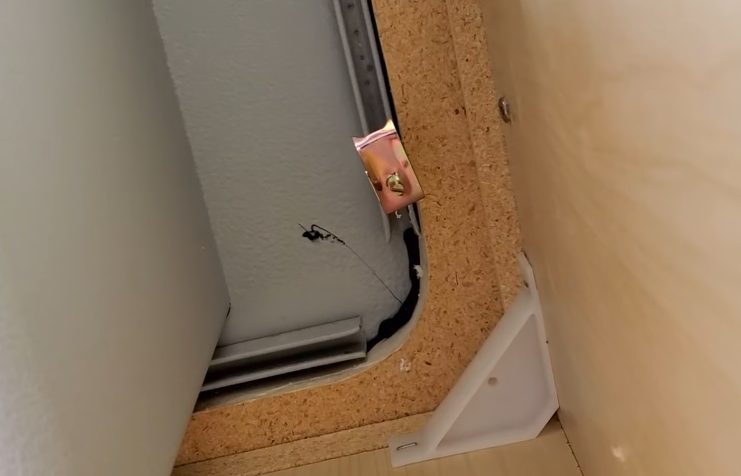
While you’re under the sink, take a look at the ridge there to see if there’s any hardware or fasteners holding it on. Some sinks in the front will have a manual fastener that holds them to the countertop. You need to remove that.
If your sink doesn’t have that fastener, skip this part. Next, see where the sink meets the countertop, take a utility knife, and very carefully cut along the edge of the sink, scoring the silicone sealant.
Use a very shallow angle. You don’t want to cut into the countertop. This is just to get rid of the glue seal that’s holding down the sink.
Then take a flat pry bar or a putty knife and scrape all the excess glue that you can get to, away from the edge of the sink. Once that’s done, you can take that flat-edge pry bar and start lifting up carefully at the corners.
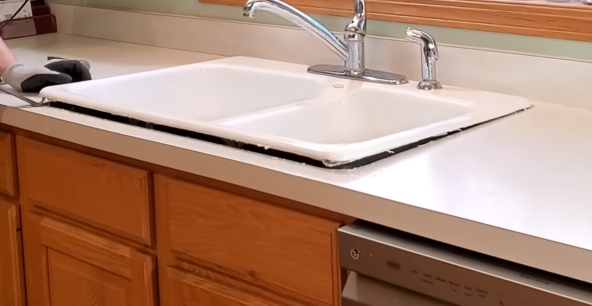
Go slowly and keep an eye on that formica. If it starts pulling away any of that laminate, stop and go back with that flat edge and try to separate the glue.
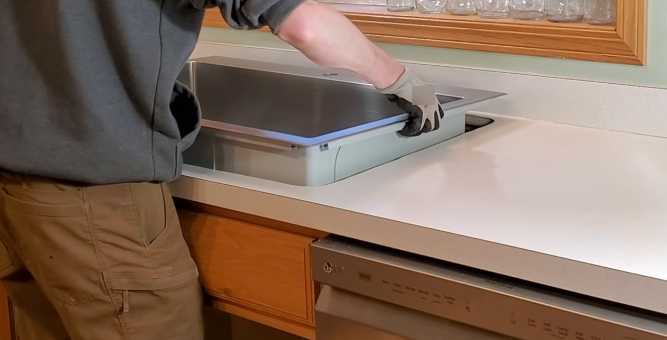
Step 3. Lift Out the Old Sink Safely
Once you’ve got the glue separated, slowly lift up on the corners. Now you’re going to want to have a block of wood or something you can put underneath. If your old kitchen sink is very heavy, it definitely helps if you have somebody with you, but it’s not necessary if you use good body mechanics. Keep your fingers out from underneath that edge.
Now, you don’t have to remove the sink faucet and use it just to help hold the sink on your shoulder while you lift it out of place.
Step 4. Clean and Prepare the Countertop Opening
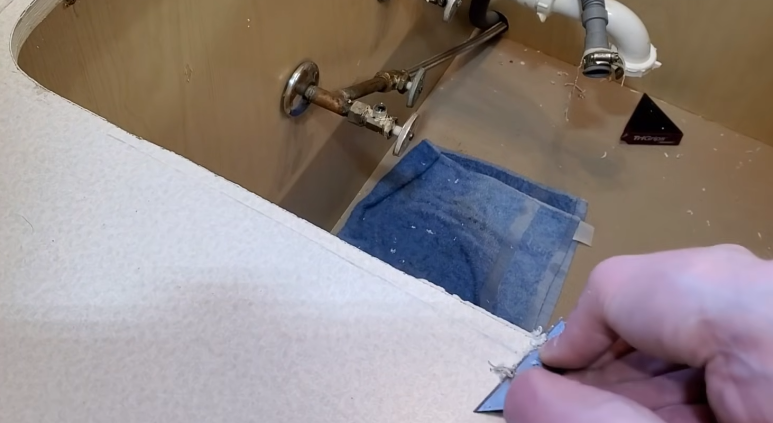
All right, with the old sink out of the way, take a razor blade and really slowly, with that flat edge, clean up any of that silicone that’s left on the countertop.
If there’s any damage to the countertop, now is the time to fix it. If you have any cracks, splits, or separations, glue those back down once the old glue residue is gone.
To do this, you can take some denatured alcohol and wipe down the entire surface around the sink.
Step 5. Test-Fit and Install the New Sink
Now it’s time to test-fit your new sink. If the new one has a protective cover on it, take that off and slowly lift the sink into the opening to check the perfect fit.
Once you’re confident in the sink fit, take it out, flip it over, and add the attachment hardware to the rails on the bottom of the sink. You want to screw it down just so it’s snug, then turn all the fasteners 90 degrees.
With the fasteners in place, next, take a bead of silicone and run it all the way around the edge of the sink. Be careful with this stuff. It’s pretty nasty. Anything it gets on is probably going to stain, so be extra careful and keep an eye on where your hands are, what you’re touching, or what your clothes are leaning against.
Now, to get the new sink in place by yourself, it’s a little tricky. Flip it over, and with the cabinets open underneath, slowly guide it down into the opening without touching any of the edges or getting hung up on the hardware.
Step 6. Secure the Sink and Clean Excess Silicone
With the sink in place, fasten down the hardware screws. In front of the sink, this is where you want to start, and then work your way to the back. It’s usually pretty tricky because there isn’t a whole lot of room, so it is best to put a screw bit on the end of a long extension to make it a lot easier to get to those screws.
Now go back and clean up any silicone that’s come out of the edges around the sink. If the silicone has already started to set, you might need acetone or mineral spirits. Work fast, because once it hardens, it’s very difficult to remove.
Step 7. Install the Faucet and Water Connections
Now you can start to put our faucet together. Go ahead and remove the attachment ring from the bottom, slide that off, and slowly guide it into the sink opening.
With that through the hole, go underneath and put the attachment ring back on. You’ll want to twist this until it’s snug.
With that snug, go back to the top side and make sure the faucet is aligned where you want it. Then go back underneath and tighten down the two screws.
Next, you’ll hook up our water line and connect your hot and cold lines. These ones are often clearly labeled with two colors.
Step 8. Install the Drain, P-Trap, and Dishwasher Connection
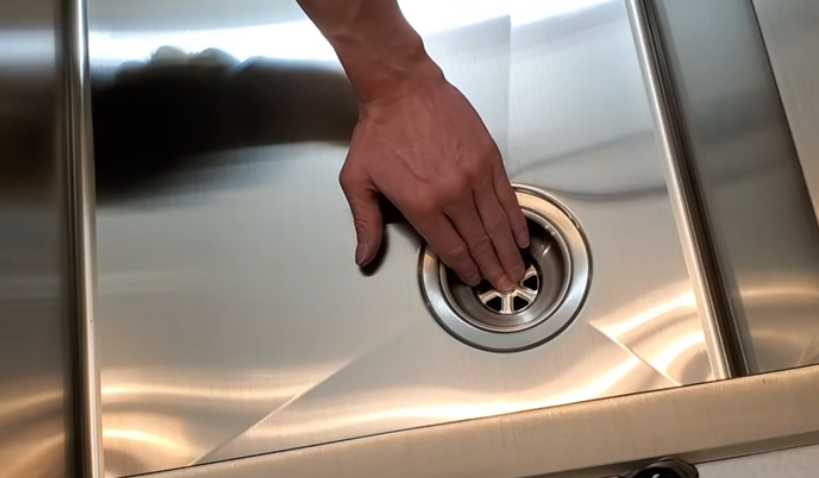
Next, we’re going to attach the strainer assembly. If yours comes with a sink basket, it doesn’t require plumber’s putty. Set that in place and, holding the screw in the center, go underneath and slowly screw on the bottom flange. To do this, you’ll need one hand holding the screw and the other underneath, turning it until it’s snug.
Then, attach our down piece and dishwasher connection, along with dry-fitting the P-trap to make sure you have the right spacing.
If you have no room, the pipe coming out from the wall might be sticking too close to the new drain location, so that’s going to have to be cut according to your needs, as well as the pipe piece of the dishwasher.
There are a couple of ways you can cut these pipes. They do make a special crimp cutter that’s kind of like a ratcheting knife and works pretty slick. If you don’t have one, use the Sawzall.
After you cut the pieces, take some sandpaper or a utility knife and clean off any of the burrs. Then, vacuum up all the little pieces when you’re done.
Now, you’re going to dry-fit everything into place to make sure you don’t need any final adjustments. Next, take the PVC primer and cement and put them in the threaded adapter piece. Be careful with this stuff. The purple primer will stain anything it touches, and it’s not very good for your hands, so make sure you wear gloves and have a rag underneath to catch any drips.
Once that cement has set up, connect all the pieces of your P-trap, snug everything up, and reconnect the dishwasher hose.
Step 9. Test for Leaks and Finish Installation
Finally, it’s time to test it. Turn your water back on, then run the faucet for about 20 seconds to get all the air out of the system. Make sure you check underneath to see if there are any leaks from your P-trap. If you see any drips, make adjustments as needed.
The final piece on this sink is the soap dispenser. To attach it, screw on the tube assembly first, reaching around and tightening the top and bottom at the same time. Then install your soap bottle, and finally, the pump assembly goes in the top. This refills from the top. You just pull out the pump assembly and add soap as needed.
And that’s it. Enjoy your new kitchen sink and faucet.
Conclusion
Replacing a kitchen sink and faucet might be a daunting task, and if you’re not up for it, you can always call a local plumber to do a better job without messing anything up.