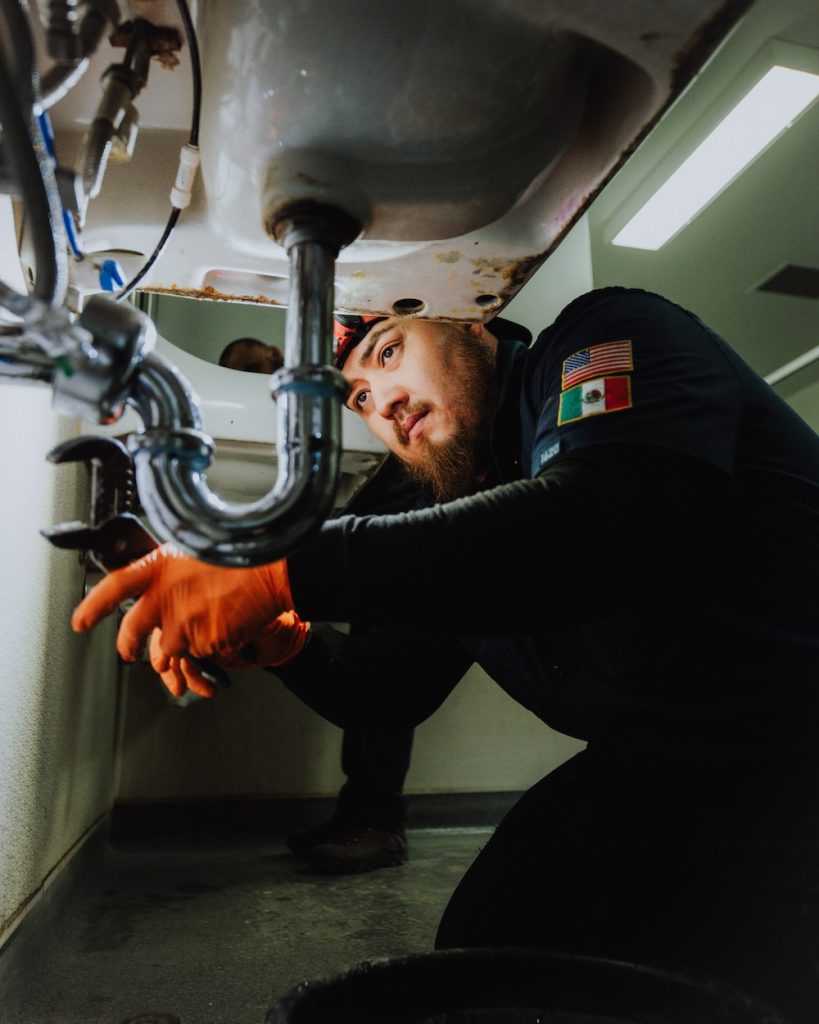
We’ve all been there – you’re washing your hands or doing the dishes when suddenly you notice the sink is leaking from the faucet or below the sink hole. It’s frustrating, and you don’t want to ignore it. But don’t worry! Fixing a leaking bathroom or kitchen sink is often a simple and quick task. If left unchecked, though, that small trickle can turn into a bigger, messier plumbing issue.
Where do Sinks Leak From?
Leaking bathroom or kitchen sinks are a common plumbing problem in any home. If you know where they sprout, you can fix the problem quickly without the guesswork:
- Worn-Out Washers: Washers underneath the water valve are tiny, but they play a big role in sealing the faucet. As time passes by, they can wear out, crack, get dislodged, and leak.
- Loose or Damaged O-rings: O-rings are small gaskets located at the base of your faucet handle to create a watertight seal. If they’re loose or worn out, water can seep out from them.
- Corroded Valve Seat: Valve seat is a part of the faucet’s inner mechanism that links the spout to the base. However, constant exposure to water sediment corrides it, which causes the leak from the base.
- Faulty Cartridge: Modern faucets rely on cartridges to regulate the flow of water, and if they go bad, sinks can leak from underneath.
- Drain Pipe: Slip nuts of the sink drain pipe might be loose, or a section of the pipe is cracked, which causes the water to leak and puddle in the cabinet.
- Sink Basin: Water leaks where the base of the sink meets the countertop and pools beneath it on the floor because of a bad sink hole flange.
- Poor Installation: Sometimes, leaks are simply due to sink parts not being properly installed or tightened. Even a minor mistake can result in major seepage.
How Do I Stop My Sink From Leaking?
Alright, let’s roll up your sleeves and deal with these sink leaks head-on! Keep in mind the steps may differ a bit based on the type and brand of your sink, but the process is more or less the same.
Gather the following items before you begin:
- Screwdriver
- Adjustable wrench/Pipe wrench
- Replacement parts (washers, O-ring, valve seat, drain flange)
- Plumber’s sealant
- Towel or rag
Fixing Faucet Leaks
- First, shut off the hot and cold water supply valves below the sink by turning them clockwise.
- There’s a decorative cap on the faucet handle; remove it and turn the screw below it counterclockwise with a screwdriver.
- Now, use a wrench to turn the nut that holds the stem in place countercloser to loosen it.
- Replace the O-ring (buy the correct size) with a new one and turn the nut clockwise to tighten the stem.
- Then, reattach the faucet handle by turning the screw clockwise and put on the decorative cap back in place.
- Finally, turn on the water supply valves and check for water leaks.
Note: If the cartridge is the root cause of the sink leak, unscrew the faucet handle, loosen the retaining nut using an adjustable wrench, pull out the cartridge (by hand or with pliers), and slide in the new one. Put everything back, and you’re done!
In case the leak persists, you may have to replace the entire faucet.

Fixing Sink Drain Pipe Leaks
- First, dry off the plumbing pipe with a rag or towel and run water through the sink.
- Observe where the fresh water droplets emerge to pinpoint the exact location of the leak.
- If it is a joint, use a pipe wrench to tighten the slip nuts in the clockwise direction. Do not overtighten, as this can damage the nuts or threads.
- Turn on the water to check the leak at the joint.
- If the pipe is still leaking, there may be a crack somewhere. In this case, replace the whole pipe with the correct size and material.
Fixing Sink Basin Leaks
- Grab a pipe wrench and use it to unscrew the nut at the bottom of the drain flange.
- Lift the flange out from the sink top.
- Remove the old plumber’s sealant around the sink hole.
- Roll the plumber’s sealant into a rope shape and apply it around the bottom of a new drain flange.
- Put the new drain flange into the sink hole and tighten the nut on the underside for the plumber’s sealant to create a watertight seal.
- Finally, turn on the water and look beneath the sink to check for any leaks.
How To Avoid Sink Leakage?
To steer clear of sink leaks, try these simple preventive measures.
- Always buy quality parts when replacing sink components to ensure a lasting fix.
- Apply reasonable pressure while tightening the sink parts so that they seal correctly and won’t crack.
- Don’t overload the bathroom or kitchen sink to avoid strain on the drain pipes.
- While washing dishes, use sink stoppers to prevent food particles from making their way into the pipe and clogging it.
Conclusion
With a bit of know-how and a few tools, you can handle most sink leaks yourself and save some cash as well. With this article, the next time you discover this issue, don’t let it dampen your day because you now know exactly what to do.
Remember, staying on top of regular maintenance and inspections can prevent those pesky drips from becoming a real headache!
